
Removing a tree stump makes for a great weekend project – outdoor exercise combined with a profound lesson on how different trees grow different roots. Does your tree have a taproot or fibrous roots? You may need to dig to find out.
To remove small to medium-sized tree stumps, all you need is a set of hand tools, some muscle power and time on your hands. A few hours to an afternoon, and beyond.
The time it takes to do a quality job depends on the size of the tree and how complex the root system beneath the ground is.
Naturally, your mind is asking: isn’t there a faster way to remove a tree stump than digging by hand?
So, let’s start with that by noting that chemicals can beand areused to remove stumps. The problem with that, is, well, chemicals. When you place them on the stump, they then soak into the ground, which sinks deeper down into the groundwater.
It’s definitely not the best option, especially if the tree stump you wish to eradicate is near your garden. And time-wise? The application of chemicals doesn’t work all that fast.
It may even take 4 weeks to see results, followed by the use of an ax to speed up the deterioration process.
Compare that to a half a day of light physical work (at your own pace) and all of a sudden digging doesn’t sound so bad. Plus, once it is dug out, it is gone for good; all without harming the environment.
Related Reading:
2 more options to remove a stump
For larger stumps, or more stubborn stumps, burning is another way to remove them.
However, this option depends on your location, the direction of wind and the time of year. Try this in a suburban location, knowing full well that you can’t hide from the smoke billowing from your yard and be ready to put it out. Not everyone appreciates the smell of burning wet wood.
Finally you could rent, or hire professionals with astump grinder.
与多个删除这可能是一个viabl树桩e option, but one must look at the costs. You also need to think about how to get that stump grinder into your yard. Do you have a way to transport it to your home? Are you equipped with proper safety gear?
Or should you go back to the tried, tested and true way of removing a stump by hand?
It is as easy as you’ll see in the step-by-step photos below. You provide the few hand tools and your own muscle-power, while we provide some tips to get the job done well.

With the stump removed, you can resume life and gardening as usual.
Tools needed for removing a tree stump by hand
To remove a stump, you’ll need to procure a few hand tools:
- ax
- spade
- shovel
- hand saws
- pruner
- crosscut saw (or chainsaw)
- crowbar or pick (for removing soil between roots)
- gloves
- safety glasses

If you don’t have all the tools you need, try to borrow before you buy them. Though many of thesehand tools on the listare essential for both gardeners and homesteaders, so invest in them when time and money allow.
All that’s left to do is wait for a sunny, dry day.
Removing a tree stump (step-by-step)
Many people proclaim that digging is labor-intensive. I would say that not only is digging an efficient way to remove a stump, it is a sure-fire way to make certain that the tree you are about to remove won’t keep sending up new shoots.
If you’ve ever stepped barefoot on new plum shots from a stump cut off at the ground, you’ll understand why digging out the roots is so important. After all, you should be able to freely walk barefoot in your own backyard garden. Search for “grounding” or “earthing” to find out why.
1. Remove the branches
去年冬天,大风席卷我们的院子里,flattening our garden fence, the neighbor’s fence and tilting a number of trees. Since we need to replace the fences, we also need to cut out quite a few of those trees in the way, starting with this mirabelle plum (Prunus domesticasubsp.syriaca).

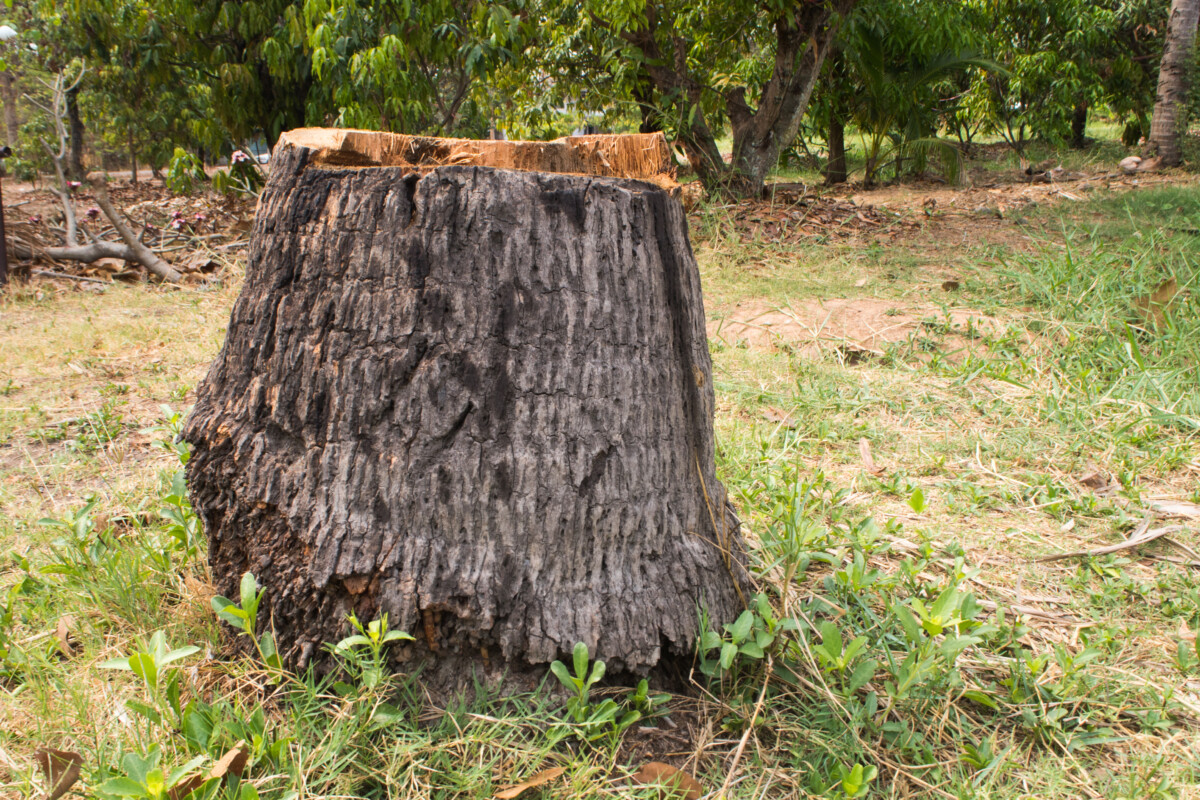
A tree becomes a stump when you remove the branches. This can still be living, or in the process of decaying.

If the branches haven’t fallen off on their own, use a hand saw to cut them off. Pile the branches off to the side and save them for later use: either todry and season for your wood burning stove, in ahügelkultur raised bedor a brush pile for wildlife.

2. Cutting back the stump – or not
After removing several stumps throughout the years, we’ve found that the best way to work with them is to leave a few feet of trunk still standing.
It may seem counterintuitive now, especially when you often read to cut the stump back to the ground. However, it proves extremely handy, giving you great leverage when it comes time to wiggle those remaining roots loose.
3. Remove the sod
Now is the moment to choose how far out you want to dig from the center of the trunk. Stay too close to the trunk and digging space will be tight. Go a little further out and you will have more soil to dig, but more space to access the roots.

How far out you choose to dig may also depend on what kind of stump you are removing. For fruit trees, a two-three-foot radius is a good target.
You can remove sod in chunks, or go about it by peeling it back radially, in triangular wedges. Let your tools and your skills dictate the digging.
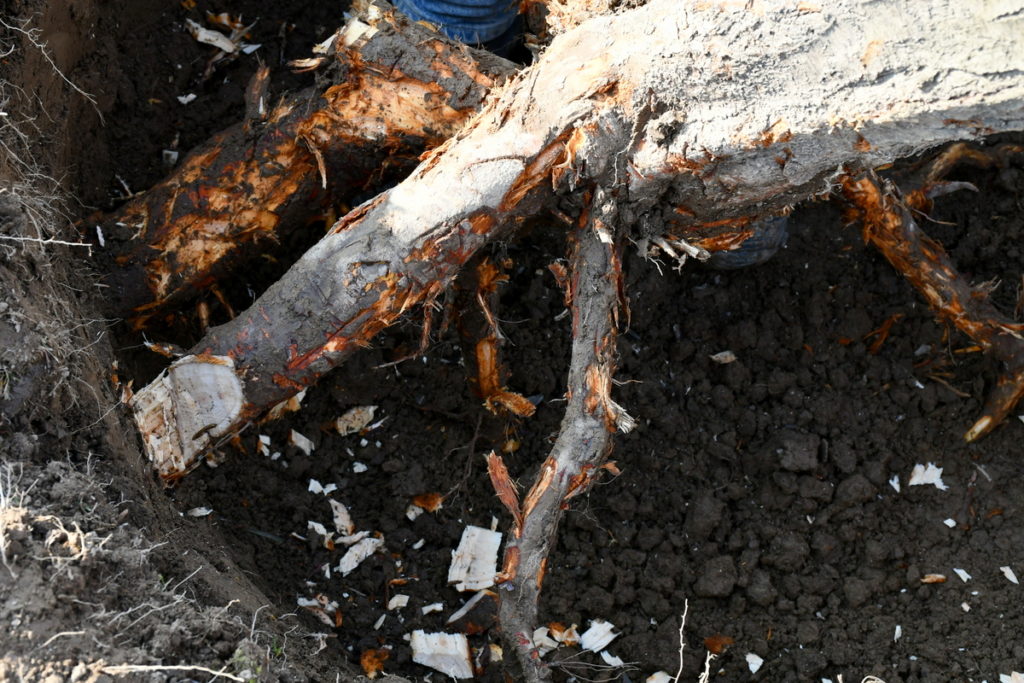
4. Dig to expose major roots
With the sod layer pulled back, you can now get to the dirty work: digging around the major roots.

Take your time doing this and step 5 will go a lot smoother.

A small spade is perfect for this job, though you may need a pick or crowbar to poke through some clods of soil between the roots.

Be as thorough as possible at removing the soil around the roots. Not only does it make removing them easier, it also cuts down on the wear and tear of your tools.
Take extra caution if there are rocks embedded in the soil.

5. Cut back the roots
Here, pruners, the sharp edge of your spade and small hand saws will come into play.
Use whatever tool is right for the job in any given moment.
When it gets down to chopping larger roots with an ax, be sure to wear safety goggles and always be aware of where you are standing in the hole.

Ax the roots out at outer edge of the hole first, then detach them from the trunk. Never the other way around, as this will likely through soil particles into your face.
Tackle the roots one by one, until the last one is standing. Then chop that off too.
6. Remove the stump
If all went well, the stump will fall on its own.
If not, it will take a little wiggling to loosen some minor roots. This is the reason we started with a larger length of trunk. Push and pull it back and forth to loosen the roots around the edge of the hole.

Finally, pull your freed trunk out.

7. Fill in the hole
Almost a job well done!

Now, all that is left to do, is fill the hole back in with soil. Obviously the trunk took up some space within that hole, so, you may need to return more than you took out. Some mole mounds are perfect for filling that void.
Replace the sod you pulled back at the beginning, stomp on it and let the rainfall restore the soil.

Now, that the stump is out, you can take a break or move onto the next one. Alternatively, you couldgrab a cup of switcheland restore your energy, while you look back at a job well disappeared.
