

When bringing home a new plant, there is always a learning curve. You’ll inevitably make a mistake or two, leaving your new friend looking a little bedraggled. Usually, you can nurse it back to full health.
But one plant that brooks no mistakes is the orchid.
Moth orchids are the variety most commonly kept as houseplants. And if they don’t receive proper care, they’ll up and die on you faster than you can say, “Phalaenopsis.”
To put you and your new orchid on the best foot forward, we’ll look at some of the most common mistakes new orchid owners make. It’s much less disappointing to learn from someone else’s blunder instead of sacrificing your plant in the learning process.
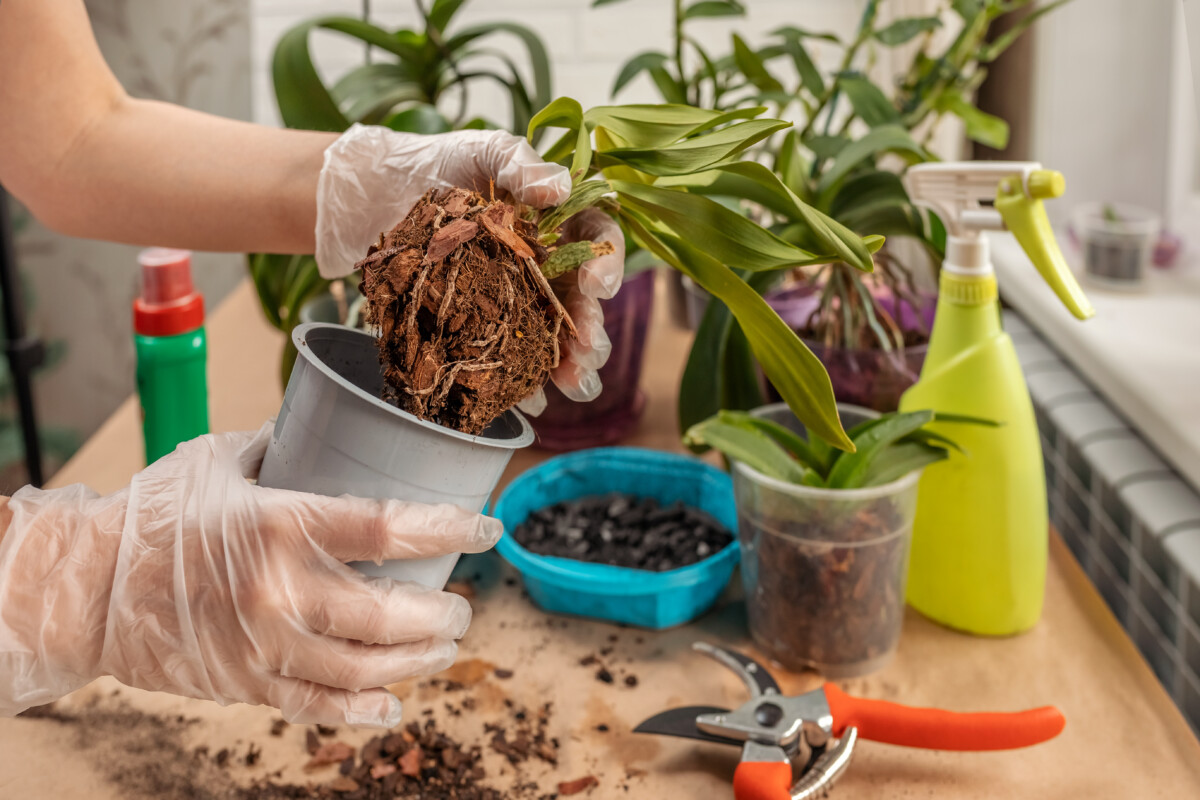
1. Using All-Purpose Potting Mix with Orchids
Can we please just agree that all-purpose potting mix is rarely to be used with houseplants? Where most are concerned, few will thrive with all-purpose potting mix. That’s because nearly all the plants we’ve decided to grow in our homes are epiphytes or lithophytes – meaning they grow symbiotically with a tree, other plant or on a rock.


Most houseplants have shallow root systems that have evolved to grow in the lightweight organic matter that collects in the nooks and crannies of trees and rocks, orchids included. All-purpose potting mix is much too heavy for them and holds too much moisture around the roots, leading to root rot. Orchid roots need to breathe to do their job.
Choose a quality orchid potting mix made up mostly of fir bark or dried sphagnum peat moss. Both are acidic and contain trace nutrients orchids need to thrive and flower.
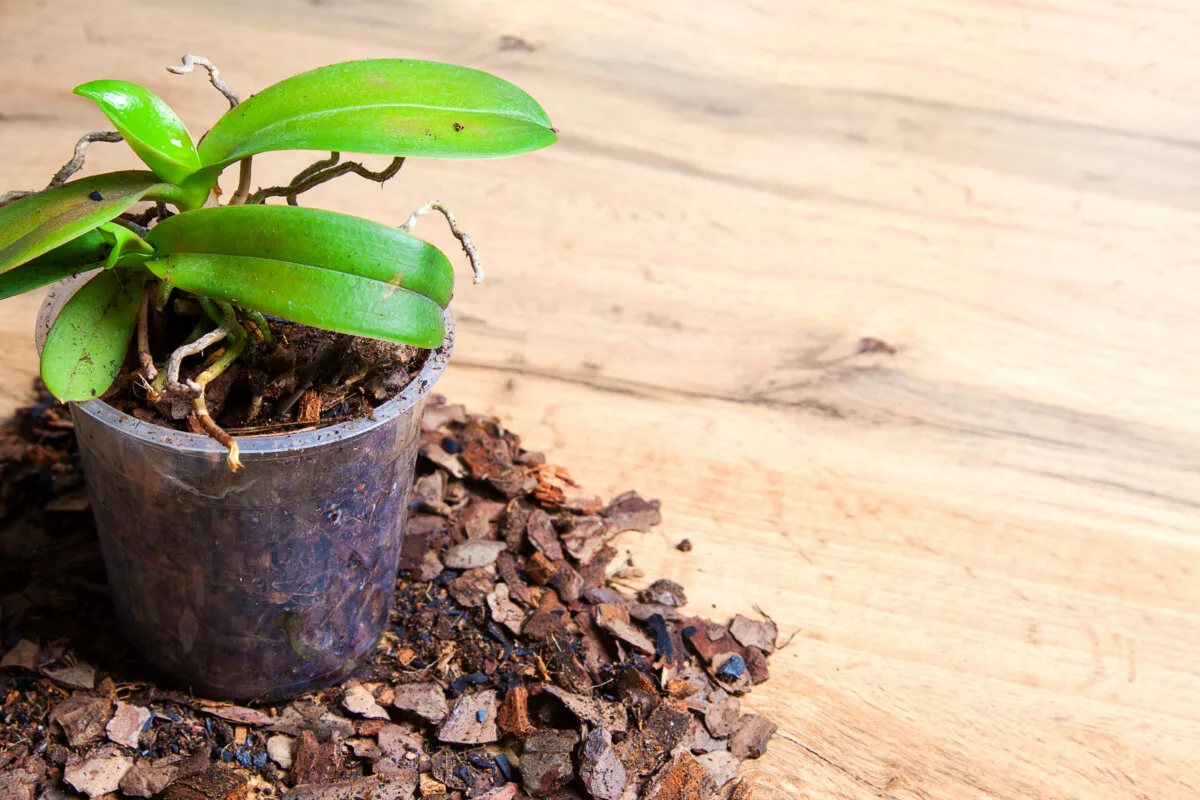
2. Not Repotting Orchids
If you’ve purchased an orchid for yourself or been gifted one, it will likely come in a standard industry setup – a plastic nursery pot with lots of holes set inside a terracotta pot with a drainage hole in the bottom.
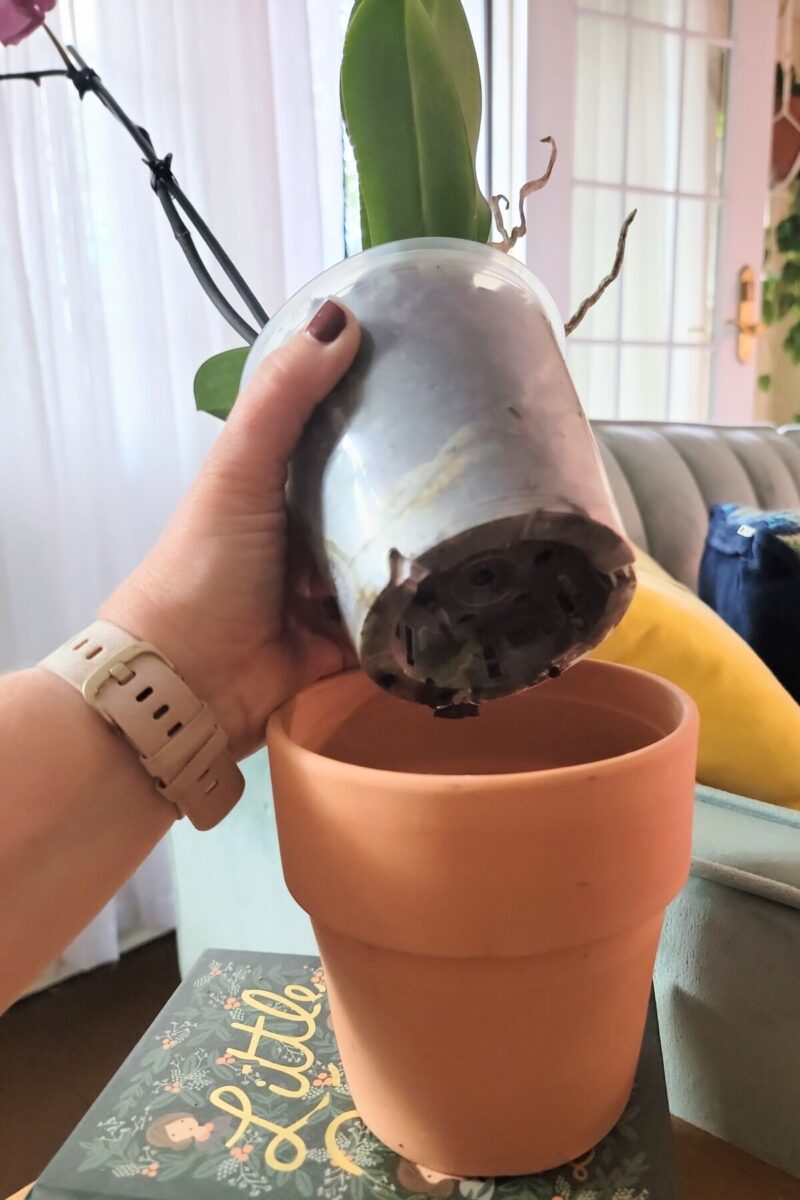
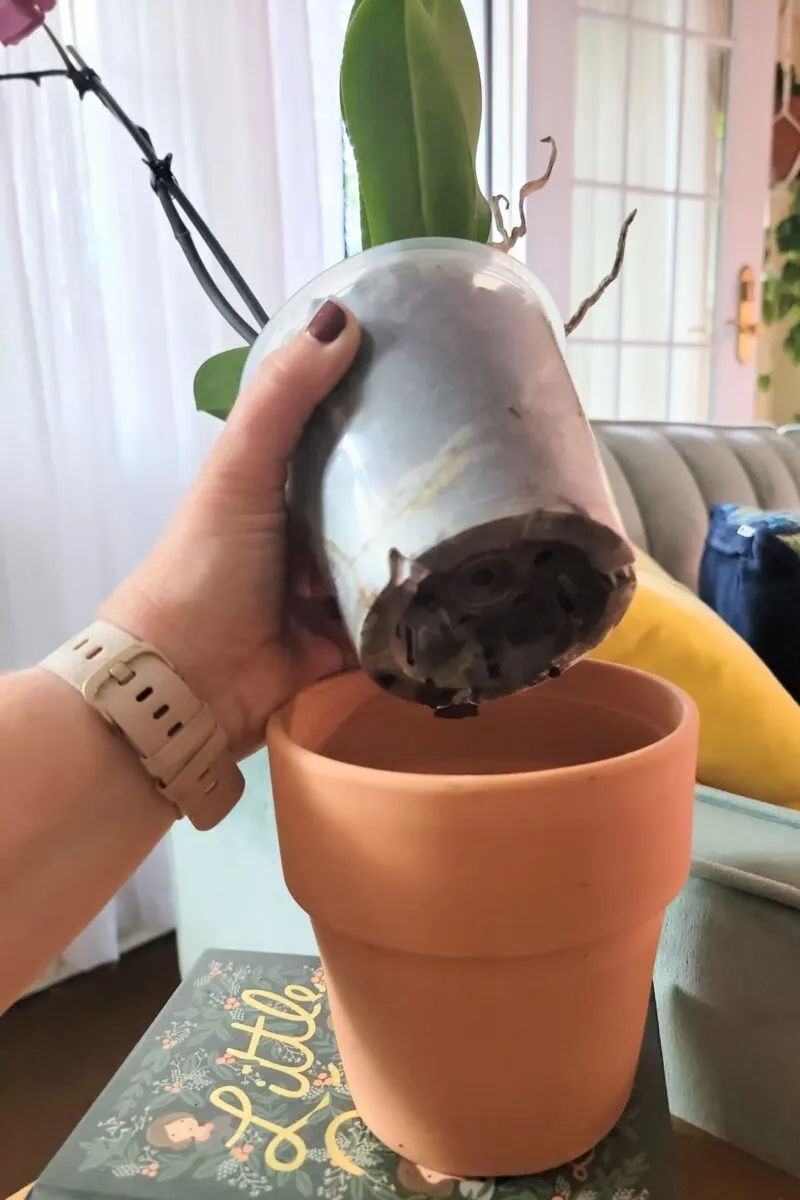
While this is a sufficient setup for getting the orchid to its final destination – you, it’s not ideal for keeping an orchid healthy in the long run.
没有兰花的根的空间传播out and grow (a sign of a healthy orchid). Left too long in these pots, the plants become rootbound and will eventually succumb to root rot from being cramped together with no aeration.
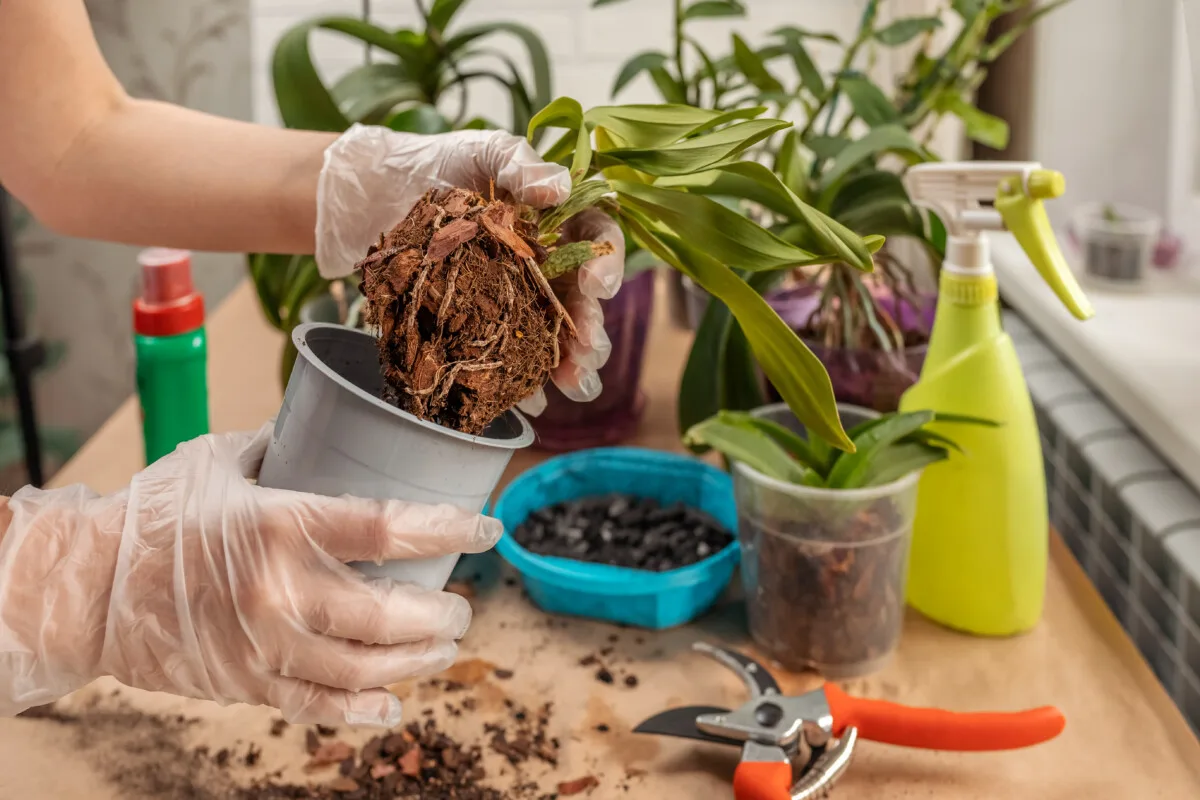
Wait until the orchid has finished blooming to repot it in a setup more suitable for keeping an orchid happy long term.Learn how to repot an orchid.
3.使用the Wrong Pot


If you’re serious about growing orchids, I highly suggest you make a trip to the closest botanical garden near you and check out their orchids. You’ll quickly note they look quite different than your setup. Most are masses of aerial roots growing out of some sort of mesh basket or plants that are growing directly on a tree. In either case, you’ll notice that more than half of the plant is a tangle of aerial roots.
To ensure you have a healthy orchid that lasts for years, skip the traditional pot and purchase an orchid pot.
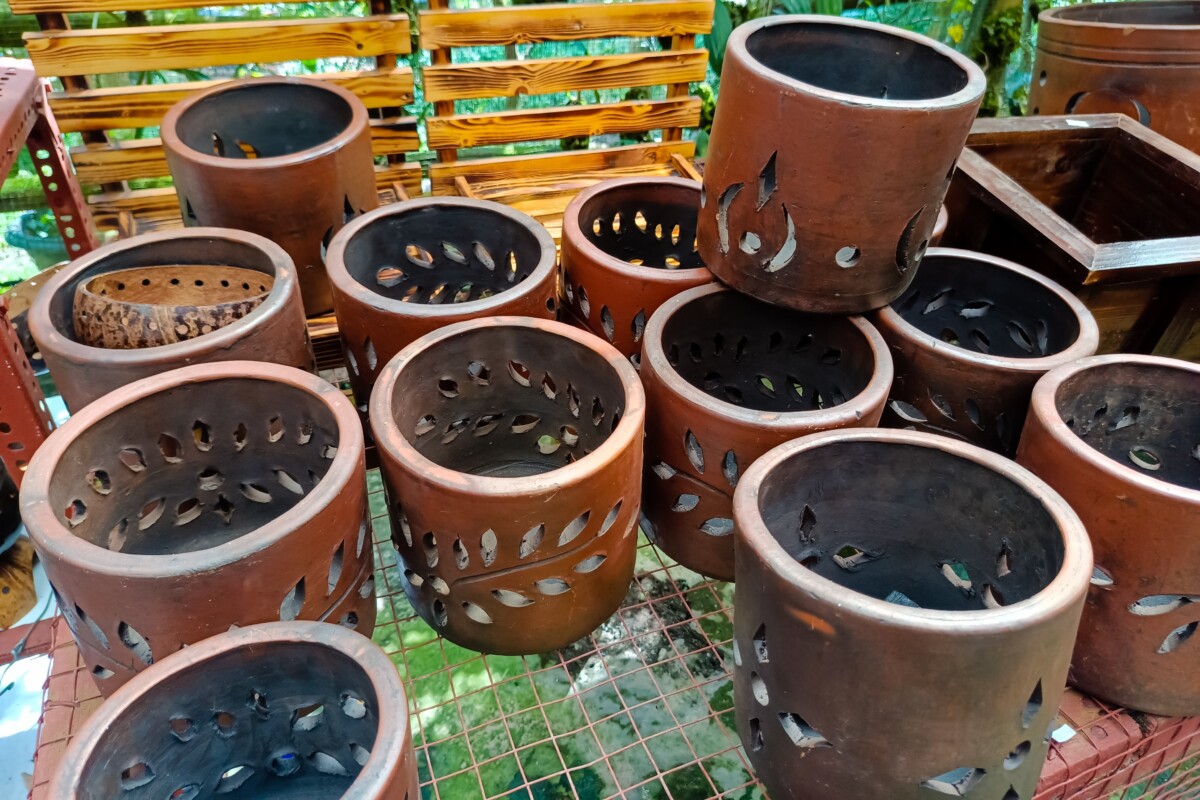

Orchid potsare made of porous clay, which helps regulate moisture and air. They have many openings in the side of the pot, allowing the plant’s roots to creep and grow outside the pot, doing what they were designed to do – picking up moisture and nutrients in the air.
4. Placing Orchids in Direct Sunlight
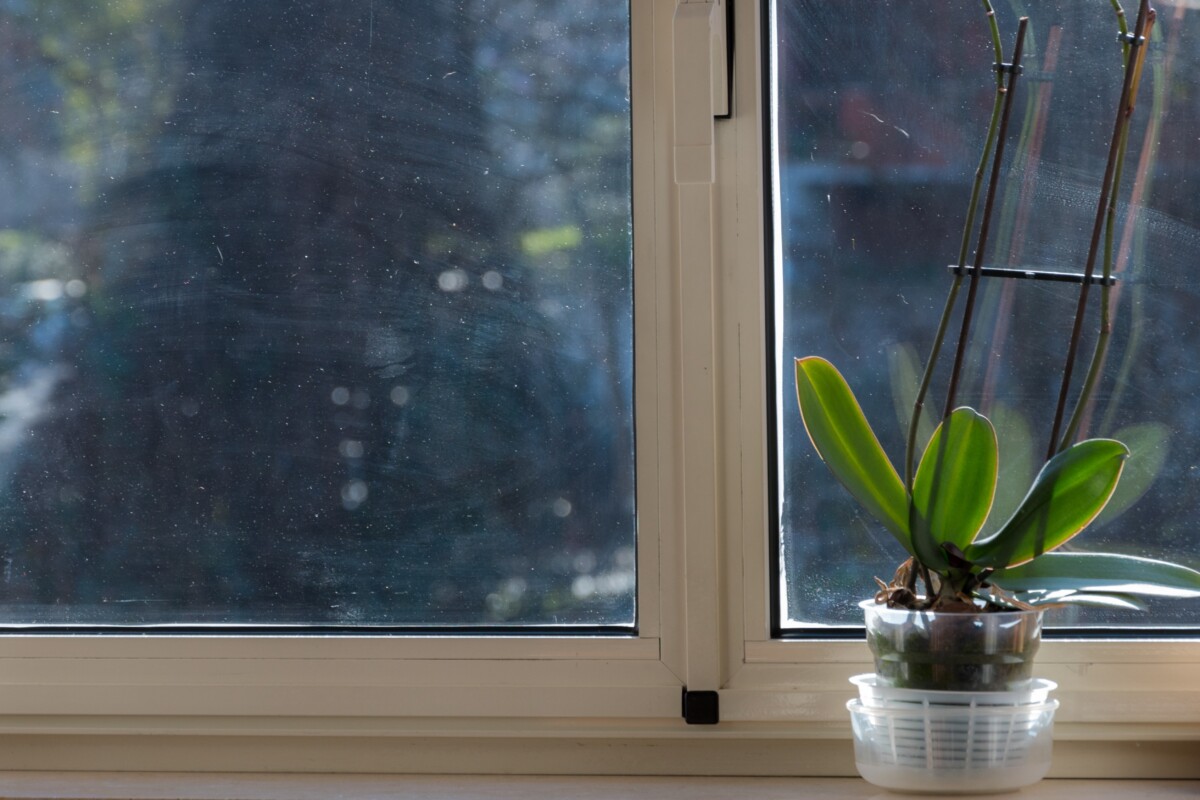

Orchids grow in tropical jungles and rainforests, sheltered from above by a thick umbrella of leaves. While they need bright light, it’s always filtered by the forest canopy, providing them with the gold standard of houseplant lighting – bright, indirect sunlight.
Really, it’s quite easy to find the perfect light for your plant in your home.
Pick the room in your home that receives the most natural sunlight. Put your orchid in that room several feet away from any windows. This placement should also keep your plant well away from drafty windows and doors. Keep in mind that you may need to move your plant a couple of times a year as the sun’s position and strength change with the seasons.
5. Overwatering
The number one cause of death for orchids is heart disease. Just kidding, that’s humans. The number one cause of death for orchids is overwatering. And it’s not too hard to see why. Most of us bring a new plant home and immediately tuck it into the same routine as our other houseplants, which is bad news for your orchid.


Orchids have specific watering needs, not just how much water they receive but where and how they receive it. And it’s safe to say their needs are unlike the rest of the plants hanging out in your home.
While they take up water from the growing media surrounding their roots, it’s not the only way they access water.
Take a moment and think about their natural habitat; you’ll get some great clues on how best to water your orchid. Picture an orchid growing on a tree in an Indonesian rainforest.
It’s protected from above by a thick tree canopy, which allows dappled light to reach the plant. The plant rarely feels the pitter-patter of rain on its leaves or flowers; rather, it hangs out in the humid undergrowth and drinks from the slow trickle of rain that occasionally makes its way down the tree trunk.
From this picture, we can glean a few watering tricks to keep your orchid happy.
First, don’t overwater it. Orchids are not like a plant growing in the ground that receives most of its water from the soil. Water once a week with about 80ml of water or three ice cubes. Don’t water the crown; instead, pour the water on the potting media, which will soak it up and release it slowly to the plant’s roots.
6. Dehydrating Your Orchid
As we said, orchids have very specific watering needs, and some of the water they receive comes from the moist air around them.
However, that means you need to ensure the air around them is actually moist for the leaves and roots to do their job.
Set up a pebble tray filled with water just below the top level of pebbles. Place your orchid pot on top of the pebbles, ensuring the pot isn’t sitting in water. As the water evaporates, it will provide localized humidity for your orchid.
Another great option, especially if your orchid is in a hanging planter, is a small, room-sized humidifier. These are especially helpful in the winter when indoor air is at its driest.
Finally, use a plant mister to mist the leaves and roots of the plant occasionally. You can wipe the leaves down with a soft cloth as well, which will help them breathe. Never mist the flowers, as this can cause spotting and leads to the blooms fading faster.
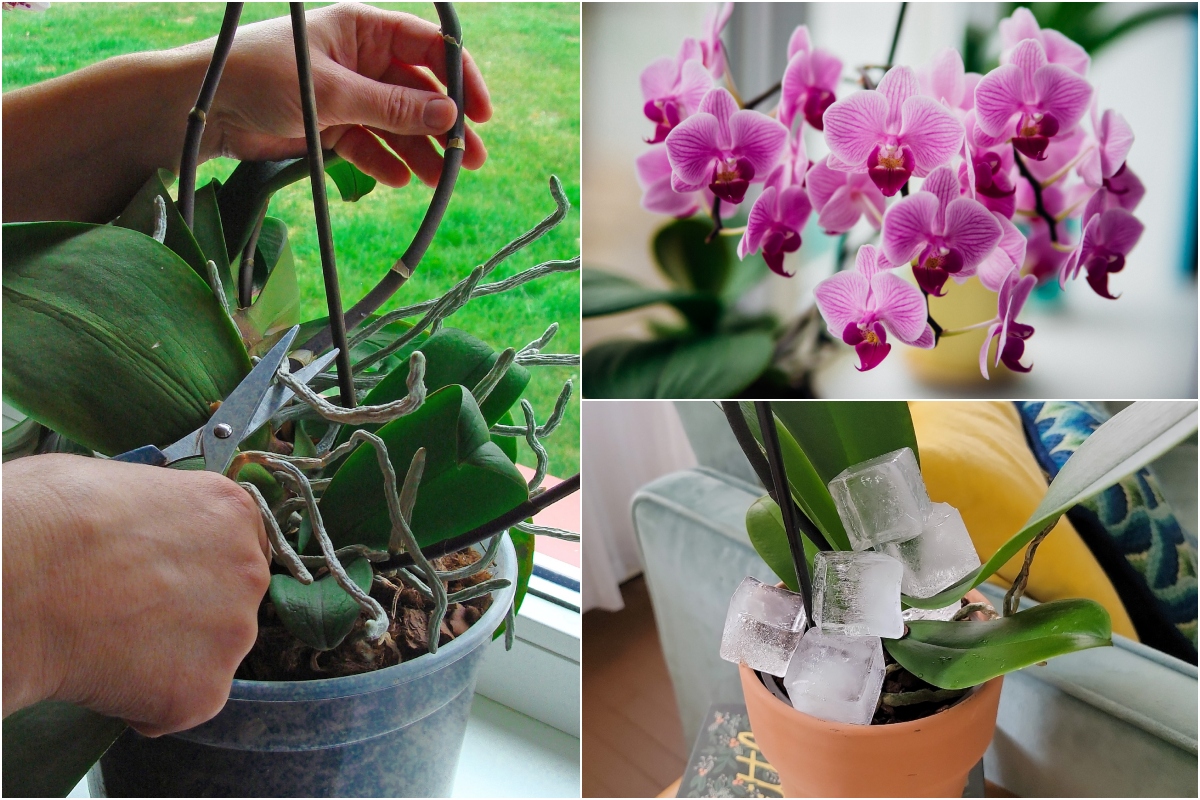
7. Putting Ice on Your Orchid’s Leaves
By now, I’m sure you know we’ve settled the debate surroundingwatering orchids using ice cubes.It’s dusted and done. Yes, you can water them using ice cubes, and it’s the easiest way for new orchid enthusiasts to do so without overwatering their plants and drowning them.
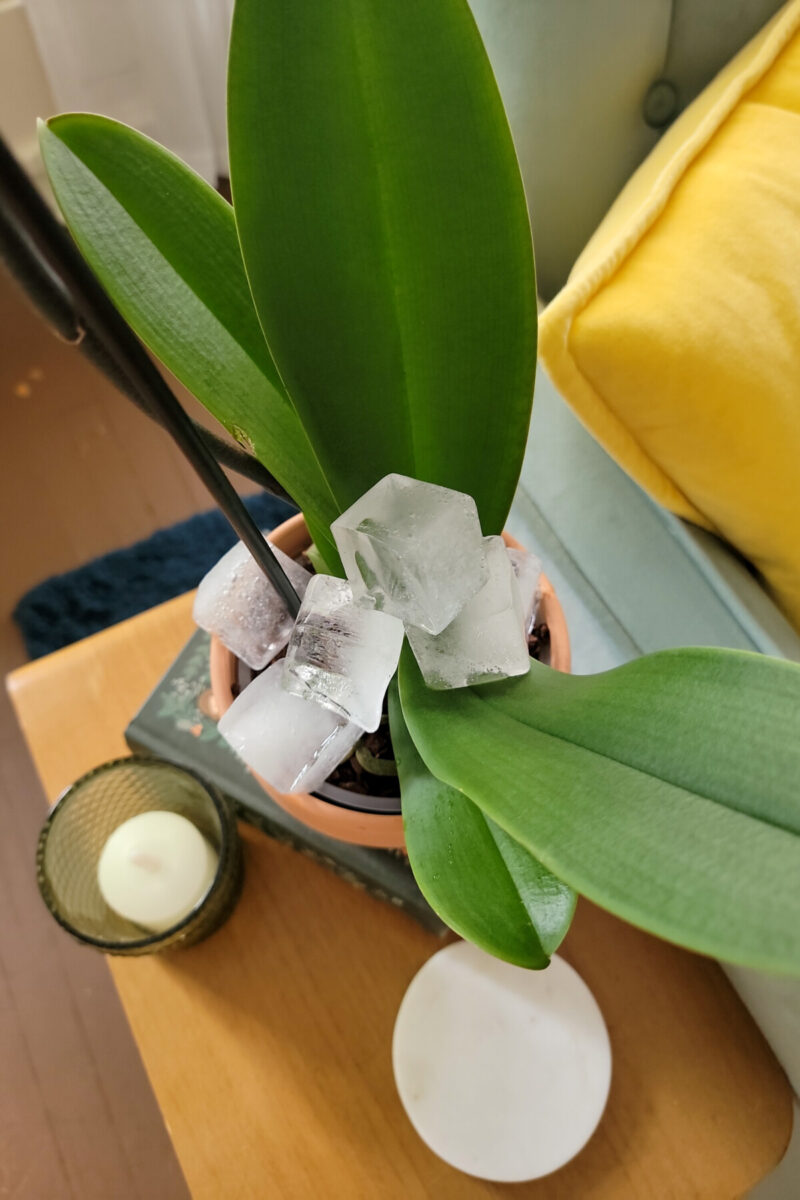

However, a common mistake that still occurs with this method is putting the ice cubes in the pot in such a way that they are sitting on or touching the leaves. While orchid roots can easily withstand the icy cold touch of an ice cube, the leaves cannot.
Permanent chilling damage will occur quickly if the leaves come into contact with ice.
When watering your plants using the ice cube method, always set the cubes on top of the bark media away from the leaves. Ideally, you want the ice to melt into the bark anyway, slowly releasing the water as the plant needs it.
8. Pruning Aerial Roots
As an epiphyte, orchids use aerial roots to cling to whatever plant they are growing on. Because the plant doesn’t have a large, underground root system that would allow it to pull all the nutrients and water it needs from the ground, these specialized roots do double duty. As well as a climbing apparatus, they take in moisture and nutrients from the air.

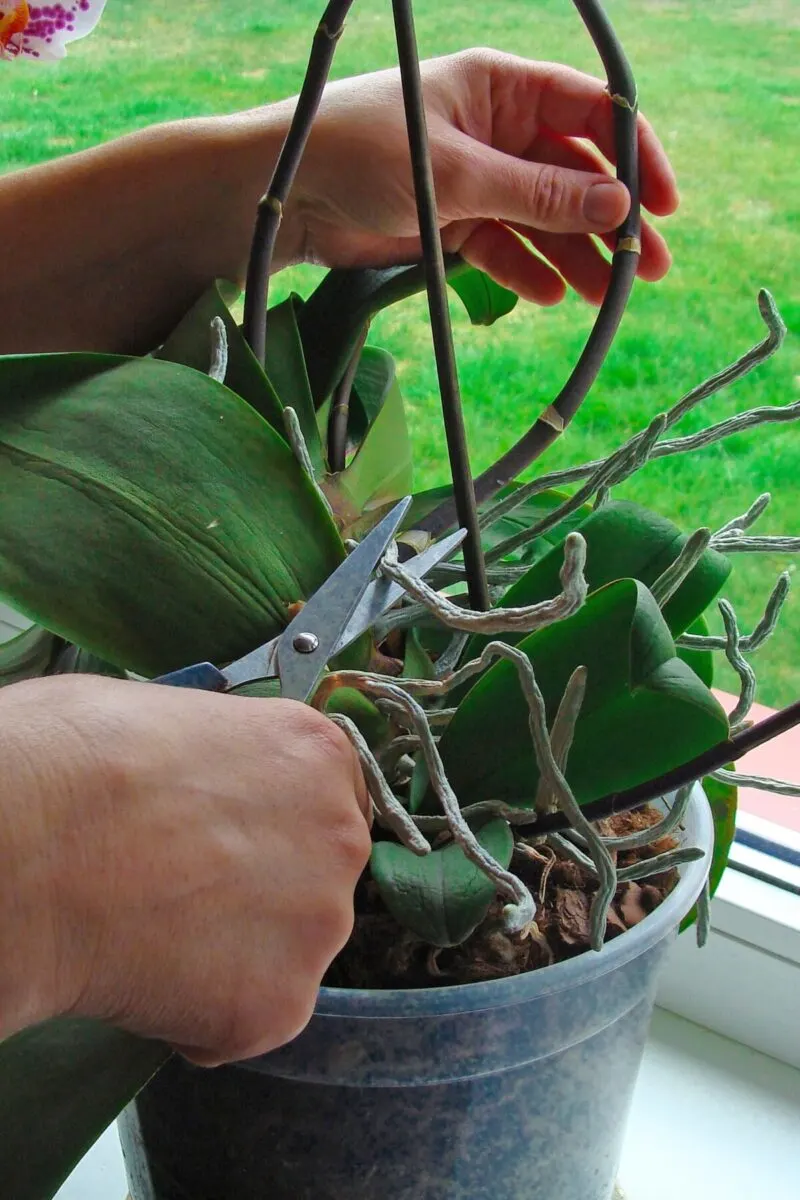
Often, overzealous orchid owners will prune back aerial roots because they think they are unsightly.
But these long, trailing tendrils are necessary for the plant’s health.
A healthy orchid will have plenty of these roots growing out of its pot. Rather than pruning them, treat them as a sign of how well you care for your plant.
Treat these aerial roots as another beautiful part of the plant and showcase them by growing your orchid in a hanging planter (not in a window) so the roots can waterfall down from the planter.
9. Overfertilizing


Too often, people assume their orchid isn’t blooming because it’s lacking nutrients, so they hit it with fertilizer. This is rarely the case and does more harm than good. Remember, it takes an orchid up to nine months to bloom again, so patience is needed.
Too much fertilizer can burn the delicate plant.
That being said, potted orchids need to be fertilized to provide them with the nutrients they normally receive in the wild.
Fertilize your orchid during the active growth period with a balanced fertilizer. Organic options, such as fish fertilizer, are much less likely to burn these tender plants. They need to be fertilized far less frequently than most plants. Apply a 10-10-10 fertilizer at half strength once a month.
A fantastic and safe option for orchids isDr. Earth Organic Houseplant Liquid Fertilizer.1-1-1的氮磷钾比例,提供一个缓慢nd steady amount of nutrients without risking fertilizer burn. While the packaging says you can pump it directly on the potting media, I prefer to mix it in the water before adding it to the plant.
10. Pitching an Orchid that Stopped Flowering

Too often, novice orchid growers pitch a plant that has stopped blooming. The beautiful flowers from their plant fade and drop off, and several months go by with no new blooms. They incorrectly assume the plant is dead because there are no new blooms.
Orchids take between six to nine months to set new blooms.
I guess it’s a good thing the blooms last for a month or two.
With only one or two blooms a year, orchids are certainly a long-game houseplant. As long as your plant’s leaves are still a healthy emerald green and the roots look good, your orchid is still alive and well. And believe it or not,getting orchids to rebloomisn’t nearly as difficult as their reputation suggests.


Now that you know what to avoid, you can successfully keep your orchid happy, healthy and blooming for years to come. And as any orchid grower will tell you, once you realize how simple orchid care is, orchid growing quickly turns into orchid collecting.