Caring for a compost pileis much like tending a garden. We feed it, we water it, we give it good airflow. And in return, we get to see the magic of our kitchen scraps and yard waste transform into rich and loamy humus before our very eyes.
Compost is ready to harvest when it has a dark and crumbly texture and an earthy scent. The particles should be mostly indiscernible, but it doesn’t need to be perfect. Stringy, sticky, and lumpy compost is fine for the taking too.
Sifting the compost will help keep larger pieces – like sticks, stones, and bones – out of the final product.
It’s not an imperative to sift and you can certainly use less than pristine compost right away. But sifting does create a most wonderfully light and fluffy compost that is easier to spread around the garden.
Materials:

- 4 lengths of 2×4 lumber, cut to size
- Hardware cloth, 1” or 1/2” mesh
- Deck screws, 3” long
- Fence staples, 3/4″
Assemble the Sifter Frame
The size of the compost sifter will entirely depend on what you’ll be sifting the compost into. Whether it’s a plastic tote, a garden cart, or a wheelbarrow, you can make the sifter any dimensions you like.
In general, a 36” x 24” sifter will provide a good surface area for processing the compost.
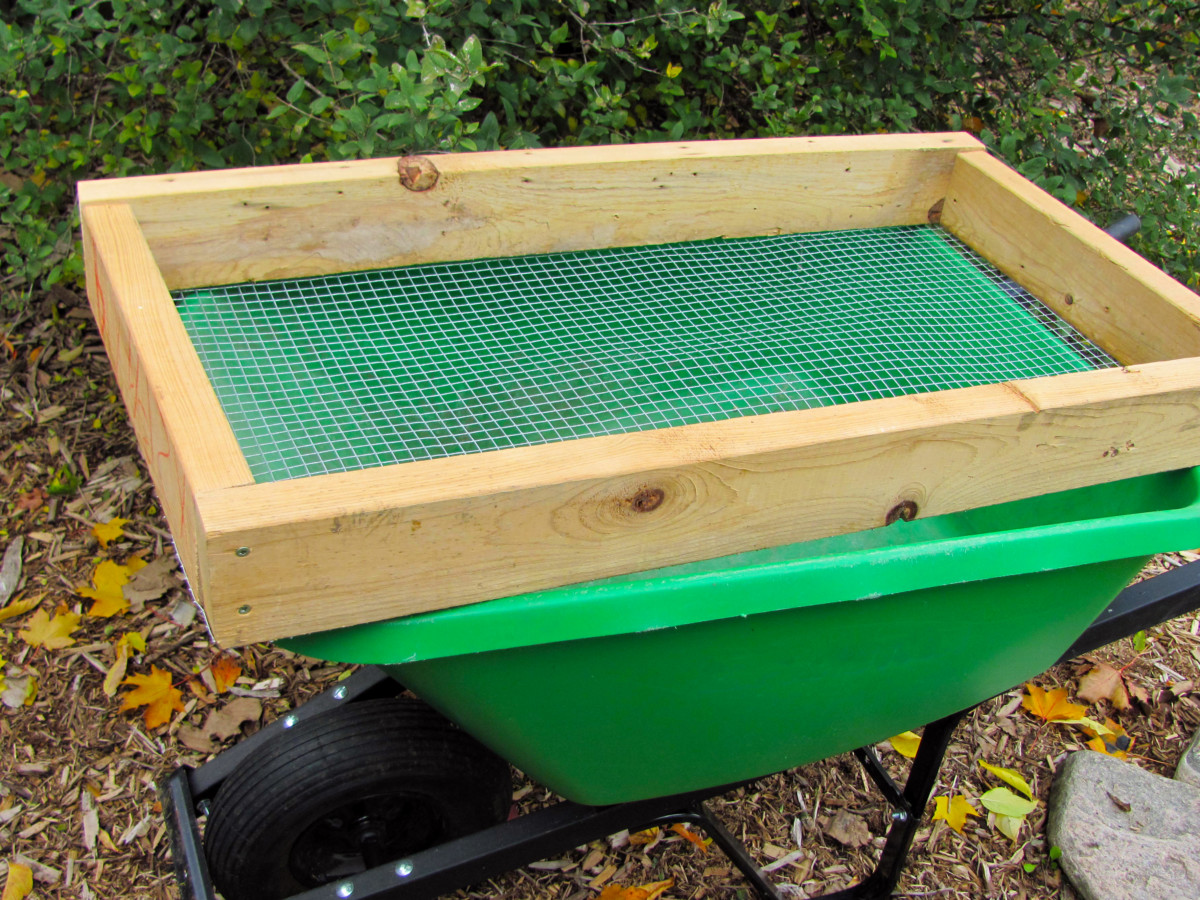
I’ll be sifting my compost into a wheelbarrow, and this particular wheelbarrow has rounded sides. I want the sifter frame to sit flat so I measured the size of the tub, then added a few inches to length and subtracted a few inches from the width.
I ended up with a finished frame size of 36” x 18.5”.

Once you’ve measured twice and cut once, position the wood pieces into a frame shape with the wide sides facing out.

Then drill 2 deck screws in each corner to hold it all together.
Attach the Hardware Cloth
The mesh size of the hardware cloth will determine how fine or coarse the finished compost will be.
我用1/2“x 1/2“网状细堆肥, but a larger 1”x 1” gauge would make processing go faster by allowing bigger materials through the screen.

Roll out the hardware cloth over the frame. Start in one corner and hammer in a fence staple.

Working your way outwards, keep the screen taut while affixing staples to the mesh every 3 inches or so.

After you’ve finished stapling the last side, use wire cutters to snip off the remaining hardware cloth.

切结束的硬件布非常锋利。Use a hammer all around the edges of the frame to tamp down the tines so you don’t get snagged.
Using the Compost Sifter
Flip the sifter over so the screen runs along the bottom of the frame.

Dump 2 to 3 shovelfuls of compost to the sieve. Take care not to toss in too much at a time, as it’ll only make it trickier to sift without spilling it over the sides.

Spread the compost out over the sifter with your hands. Breaking up clumps as you go, push the compost all around the screen. Use back-and-forth and circular motions to work it through the squares.
The smaller particles will fall into the tub and the larger debris will stay on top of the screen.

The undigested bits will go right back into the compost heap to continue breaking down. For now, I’ll put them aside and toss them back into the pile once the bin has been emptied and all the compost has been sifted.

Running your hands through sifted compost is oddly satisfying – it’s so soft and luxurious!

Use your freshly harvested compost right away to make new garden beds or recharge the soil in existing ones. It’s a top notch ingredient inpotting soiland seed starting mixes, too.
You can also set some aside for later use by bagging it up and stowing it in a cool, dry place. Leave the tops of the bags open and exposed to air. Every so often, check to make sure the compost is still slightly moist.
Homemade compost is teeming with microbial life and a broad spectrum of nutrients. It will be at its best for 3 to 6 months post-harvesting so make sure to use it up as soon as you can.