

There is something wonderfully charming about old terracotta pots. The mineral stains and verdant green algae creeping along their sides suggest they’ve been in use since Beatrix Potter was writing about Mr. McGregor’s rabbit issues. But who wants to wait that long for their terracotta pots to look aged and broken in?
Thankfully, the internet has provided us with several methods of achieving that wonderful patina in only a matter of weeks.
Or maybe not.
To tell you the truth, I started this article with the intention of showing you, step-by-step, how to age terracotta pots using several popular methods. But as the weeks passed, I was surprised to find that many of these “quick and easy” methods yielded less than desirable results.
Keep reading for the skinny on each method, and I’ll give you my thoughts about the best way to age terracotta pots at the end.
Why Age Terracotta Pots?
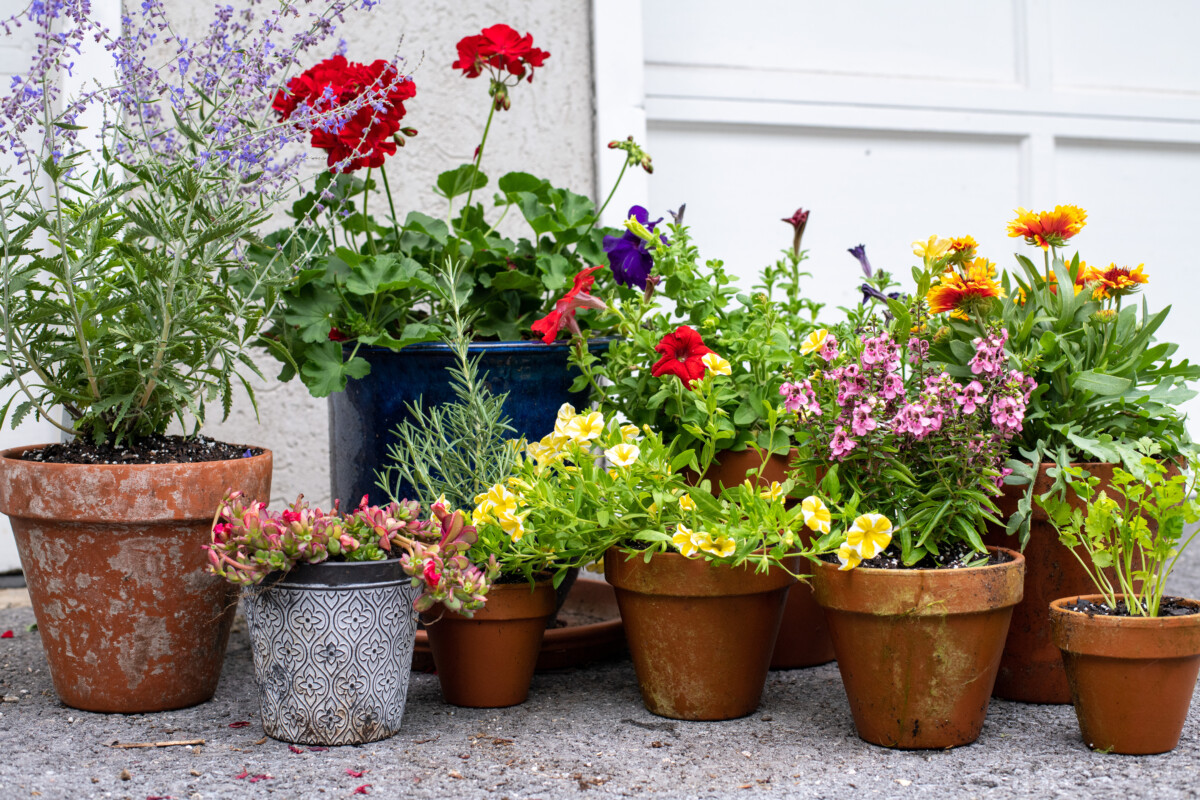
There’s a reason old terracotta pots look so great. It’s because they’re a classic gardening staple. Simple, inexpensive, and durable, they’re a great choice for many plants and gardening situations. Of course, using them does come with a bit of a learning curve. Butonce you know the basics, you’ll discover why seasoned gardeners reach for them time and again.
I suspect our desire to age terracotta pots has much to do with that learning curve. New pots seem to imply that those using them are noobs as well.
Aging terracotta pots gives the impression that the plant and pot have been together for a long time. And that the gardener tending them knows what they’re doing and hasn’taccidentally murdered and replaced the same planton three previous occasions.
Not that I would know anything about this deceptive plot from personal experience.
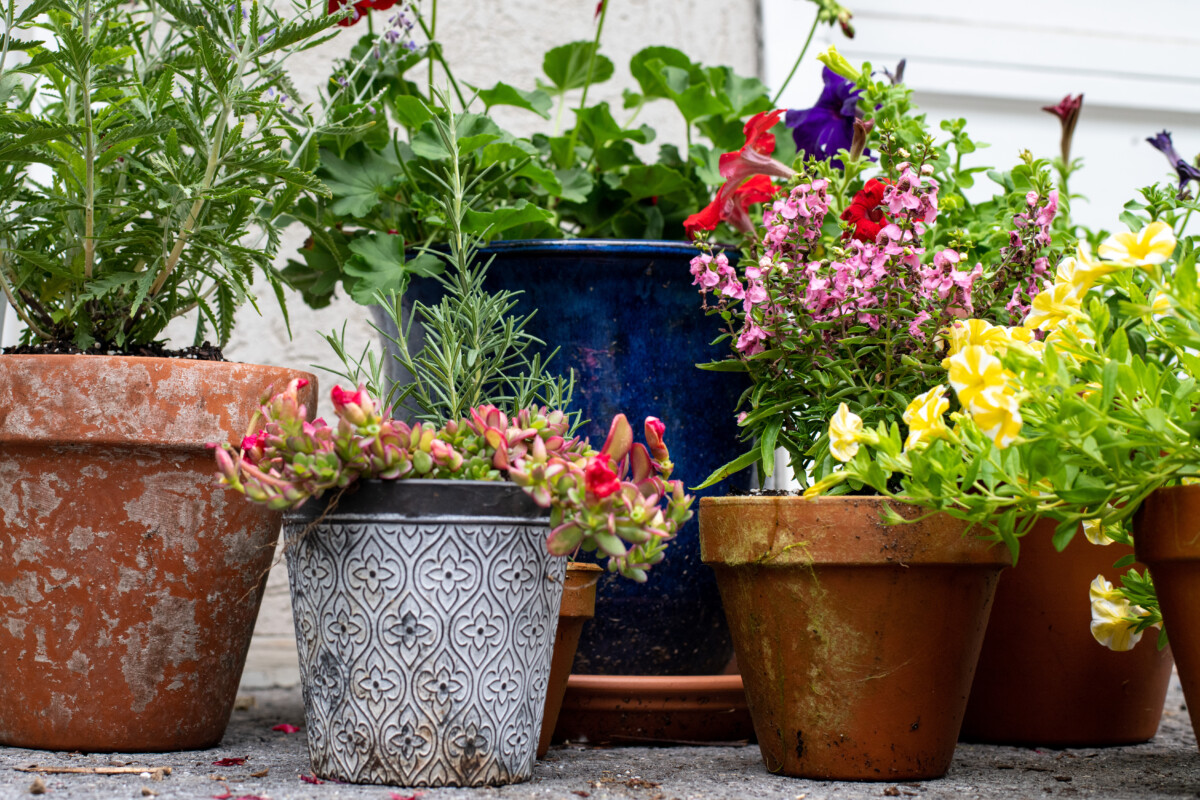
The biggest reason I think most of us want to age our terracotta pots is that it looks good. While the classic orange of new terracotta possesses its own beauty, it can be quite garish in some decors. The rough, worn look of old terracotta fits better in certain aesthetics.
Even oldbroken terracotta potscan be made into something beautiful.
A quick Google search usually yields one of four ways to age terracotta quickly. Let’s look at how to do each one and discuss the pros and cons.
Getting Started
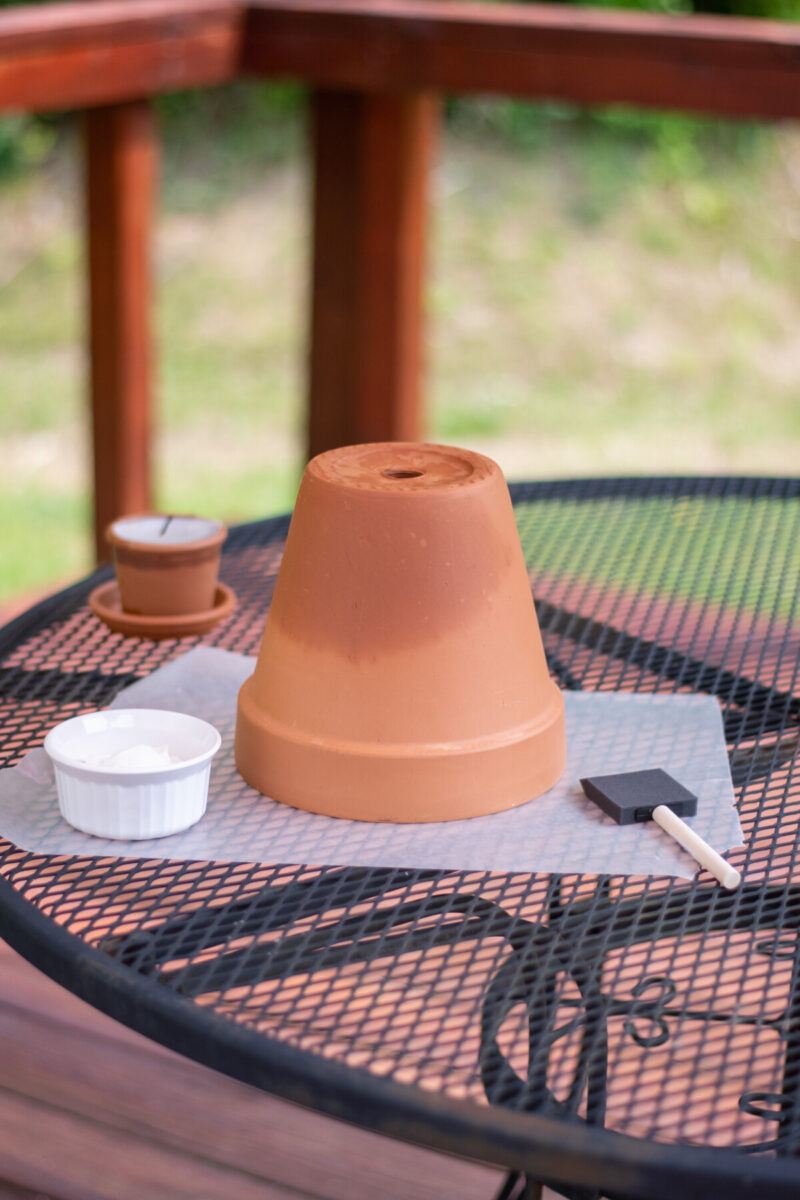
For the methods where you’ll be applying something to the surface, you’ll need to soak the pot for a few hours to a day before you start the aging process. This will help the different ingredients adhere better.
Yogurt

By far, this is the most popular way to turn new terracotta pots into something Mr. McGregor would be proud of. And it’s quite simple to do, if not a little messy.
What you’ll need:
- Plain yogurt (no fruit, unflavored). You want it to be runny, so Greek yogurt is a no-go, but if it’s all you can find, thin it with water.
- Clean, stiff paintbrush
The process:
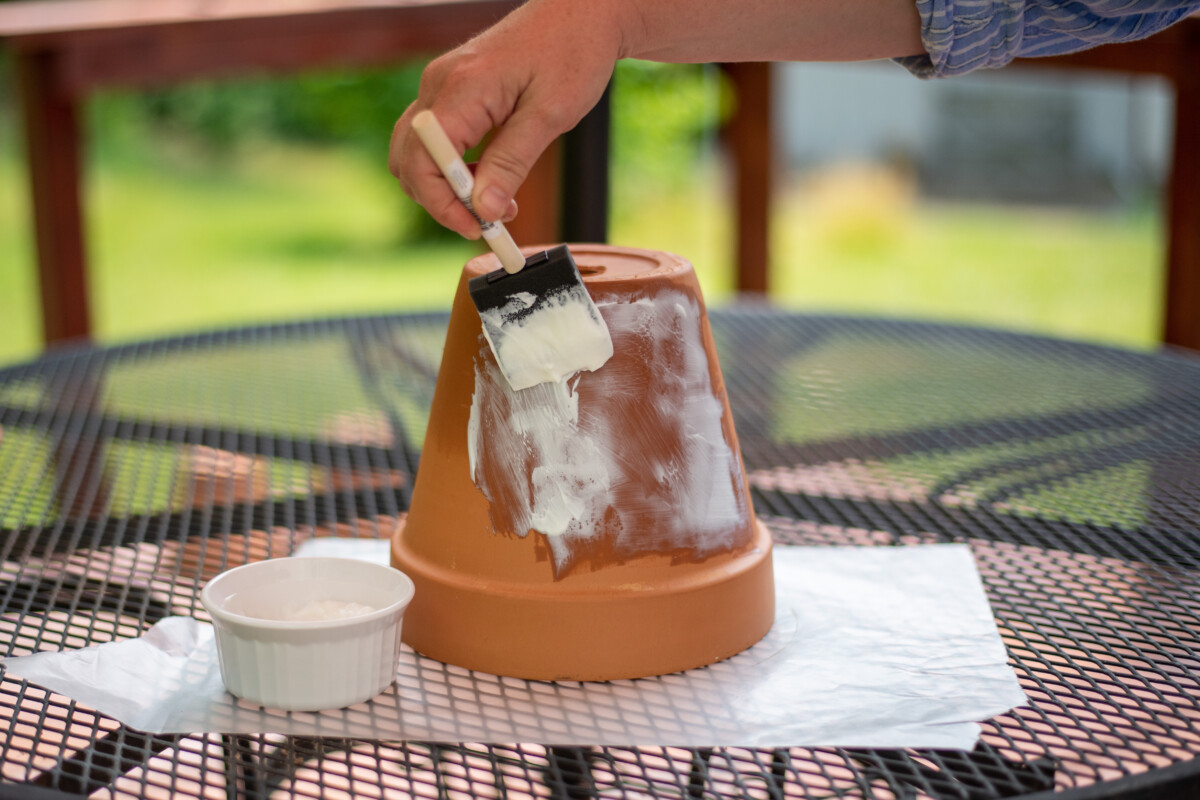
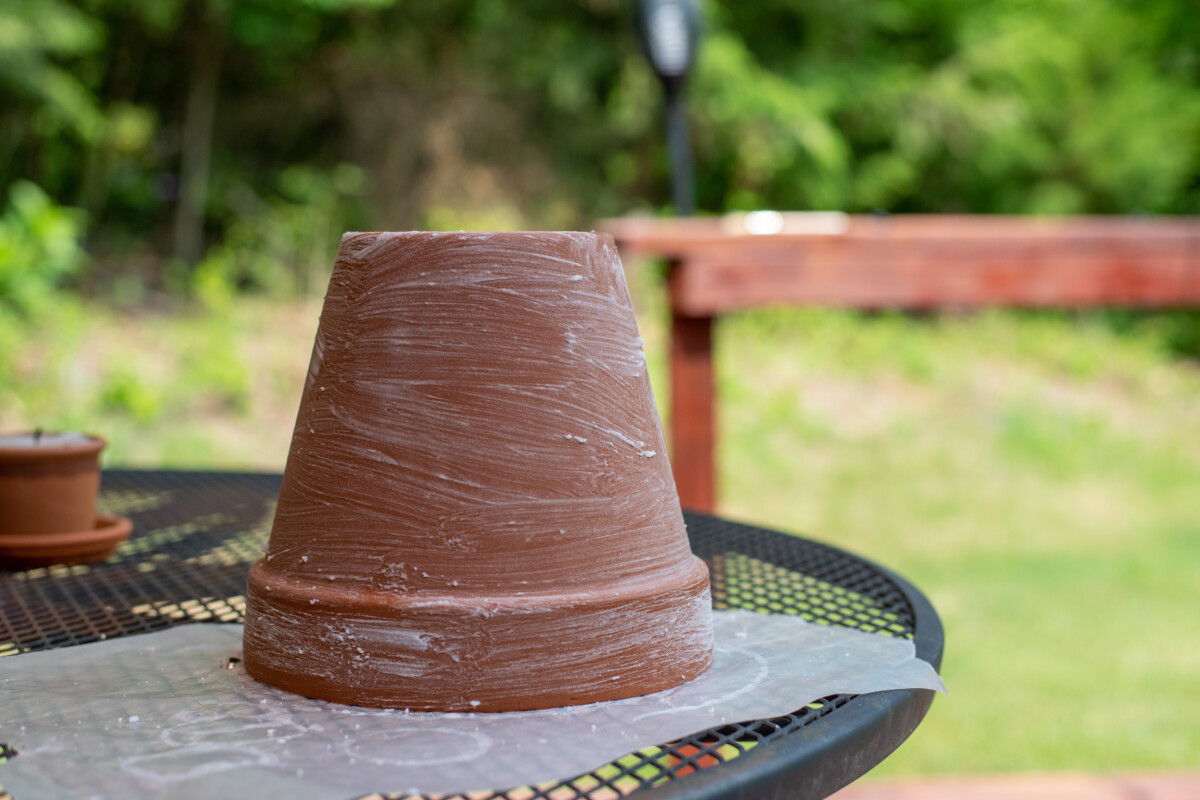
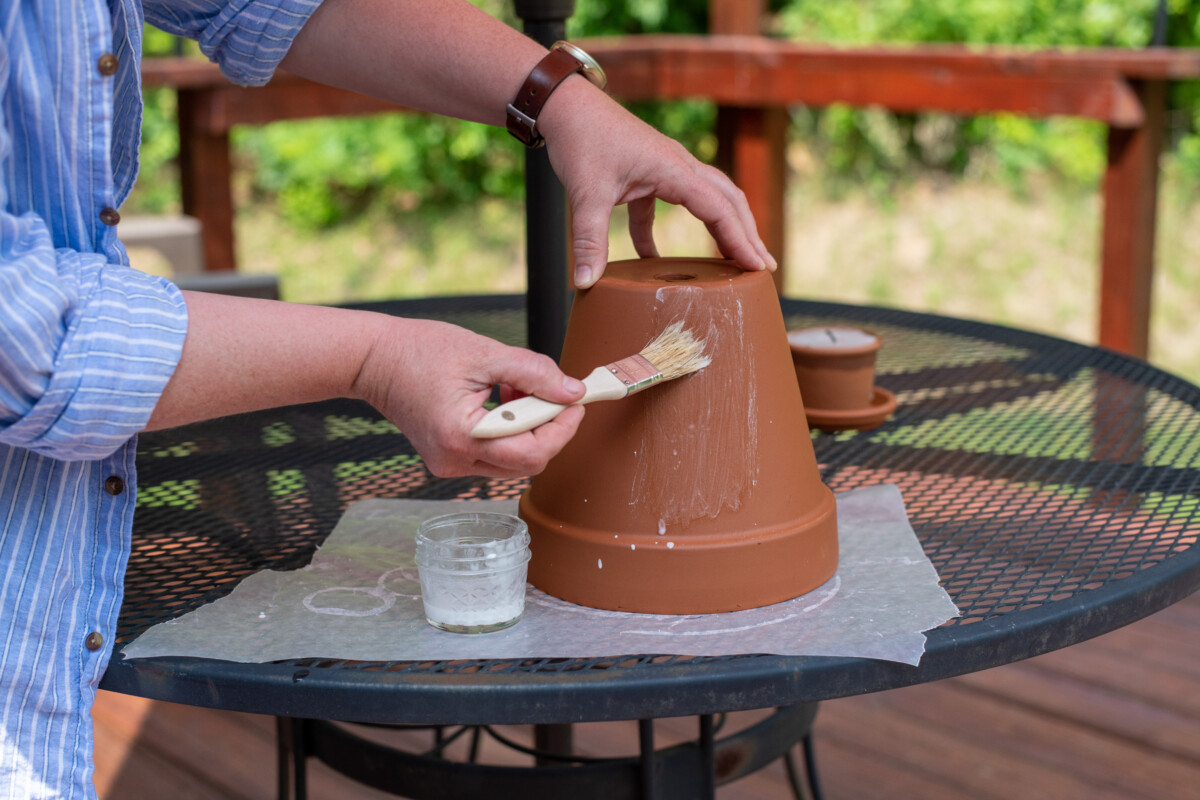
使用画笔,描绘我们专业的一个薄层urt. If you notice that you’re taking off yogurt when you pass over it again with the brush, you need to thin it out more. Let the first layer dry slightly and add another layer.
把yogurt-covered锅外面在树荫下for a week or two to allow it dry and (ahem) age. You’re letting the yogurt rot and get a little funky.
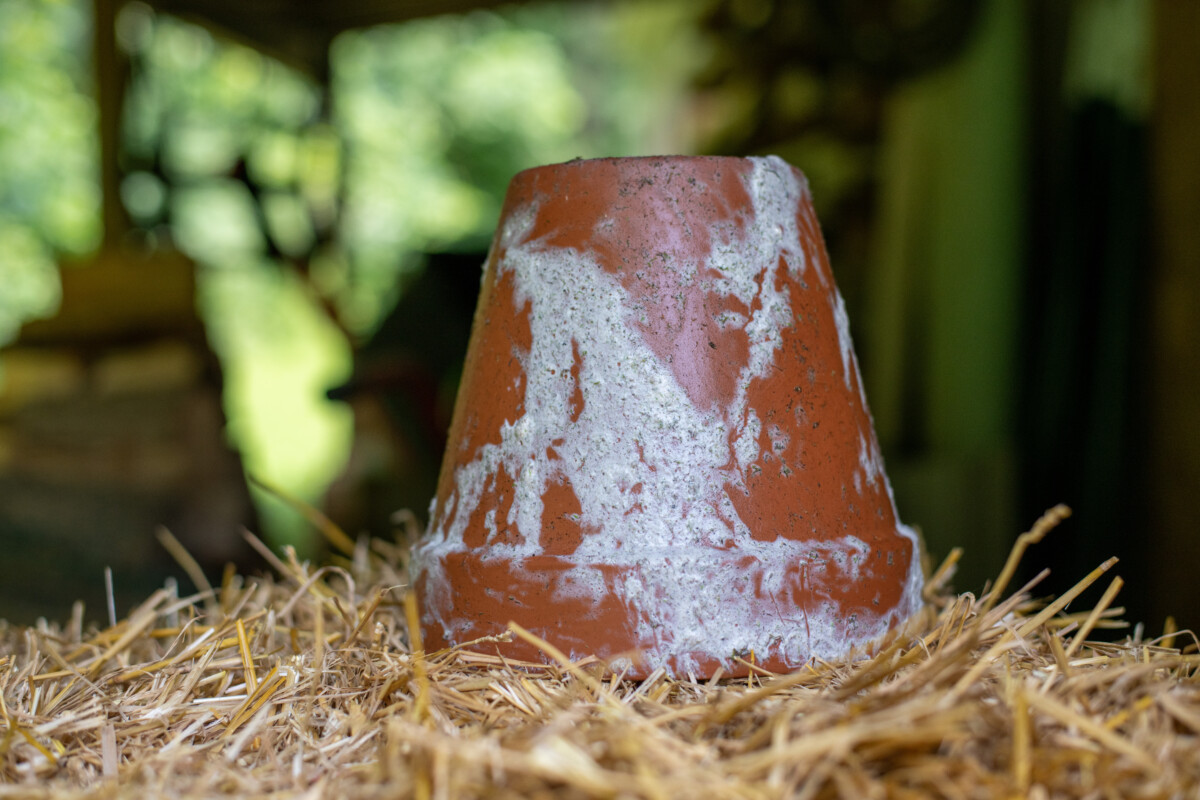
The verdict:
I was quite pleased with the results if not a tad grossed out by the thought that the patina used to be something edible. The pot looks aged and has a nice patina. I can see why this method is so popular. But before you reach for your Chobani, keep reading to the end.
Baking Soda
I found two versions of this one. The first simply used baking soda and water to make a paste; the other used paint. I liked the look of only the baking soda, but it immediately rubbed off when it was dry.
And the other method I found was mixing the baking soda with white paint and brushing it on with a dry brush to get textured, aged streaks.
What you’ll need:
- Baking soda
- Water or paint
- Paintbrush
The process:
Make a thin paste using water and baking soda or water, baking soda and paint. Using a dry, stiff paintbrush, apply the mixture to your pot. Painting in long horizontal strokes and then stippling over top of them gives a nice look.
The verdict:
Unfortunately, water and baking soda alone is a miserable failure as it simply dries and is easily brushed off. One good rainy afternoon washed my entire pot clean.
While the paint and baking soda works, I feel this is less aging and more just painting the pot for a certain look. I wouldn’t look at it and think “aged terracotta”; I would think arts & crafts.
Buttermilk and Moss
Hoo boy, I don’t know about you, but I was the most excited about this one. A moss-covered terracotta pot – does it get any more charming than that?
说实话;苔藓在terracotta我生长s the holy grail of “I’ve been doing this for a while” gardening cred. It’s like you’ve got so many great old pots hanging about that you have to look forother ways to use them around the garden.
What you’ll need:
- 1 cup of live moss
- ½ cup of cultured buttermilk
- Water
Be sure to use cultured buttermilk as it will have active bacterial cultures (which the moss like), and it’s slightly acidic (which the moss also like).
Choosing moss
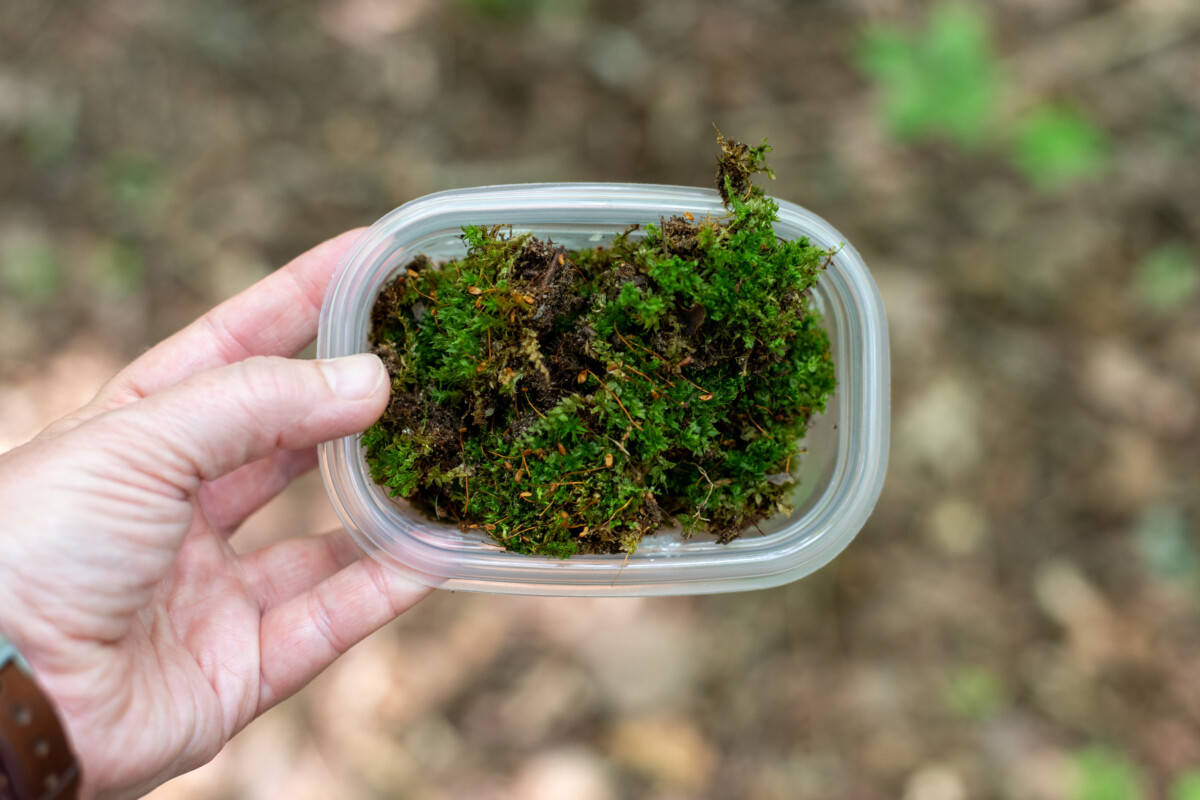
Think about the side of a terracotta pot. When choosing moss, look for a species growing on something similar. Don’t go yanking up moss off a decaying log or from your backyard if you’re hoping for it to grow on the side of your pot. Boulders, rocks, and stone buildings are a good source for a species of moss that should work.
The process:
Now comes the fun part. You get to make a moss milkshake with your blender. Yup.
To make it a little easier on your blender, rough-chop the moss with a knife first.
To your blender add the following:
- 1 cup of roughly chopped moss
- 1 cup of water
- ½ cup of buttermilk
Blend until it looks like…well, something highly unappetizing.
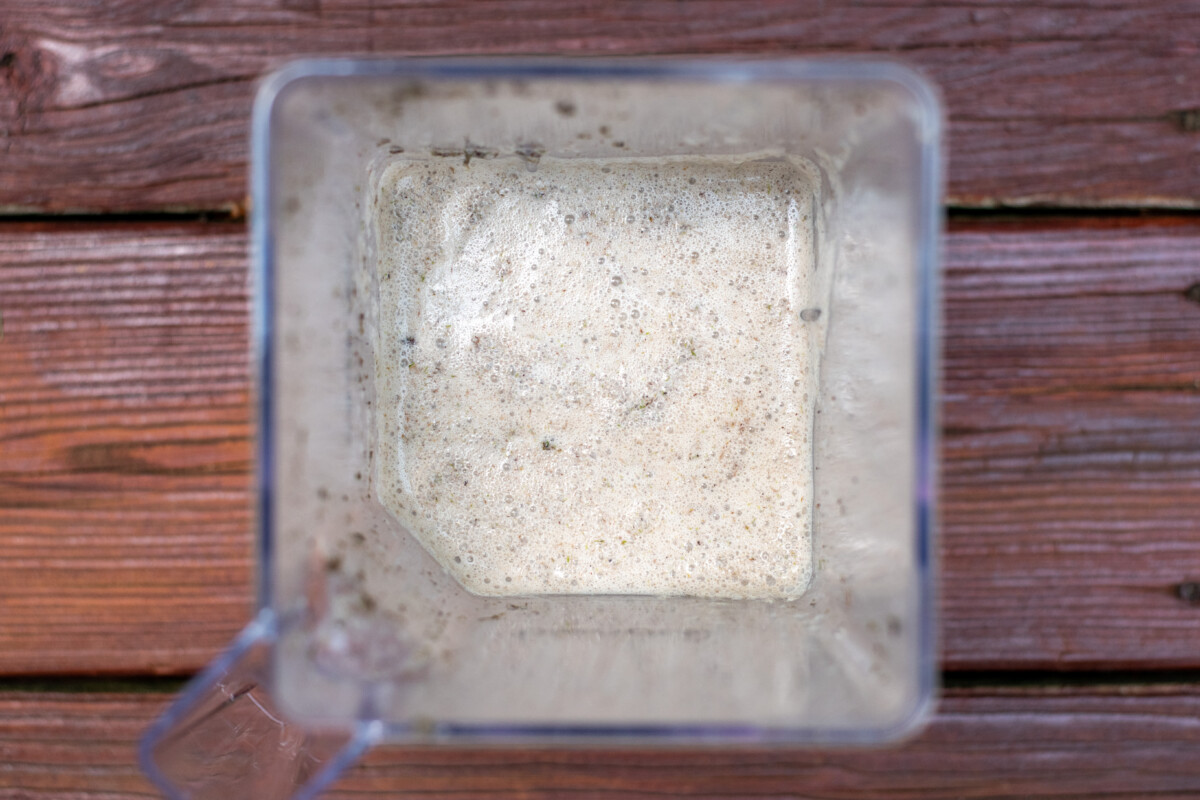
Then using a clean, dry paintbrush, stipple the mixture all over the surface of your pot.
Now comes the hard part.
You need to mist your moss-milkshake-covered pot daily, preferably with distilled water. (The mineral balance in tap water might prevent the moss from growing.) The pot must be kept in the shade in high humidity, someplace warm.
Theoretically, if you do this, moss will grow on the sides of your pot within a few weeks.
The Verdict:
With every article I read, scrounging for details on how to do this successfully, I noticed one thing absent from all of them – a photo of the finished (successful) pot with moss growing on it. When I read comment sections, they all seemed filled with people who had tried and failed. I even found a few websites dedicated to growing moss that said this method was almost always unsuccessful.
But I tried anyway.
And I failed. However, I did manage to grow some pretty cool mold.
Growing moss on a clay pot with buttermilk takes near-perfect conditions and constant attention. And at that point, my advice is to use your pot normally; it will age naturally in the amount of time it takes you to grow moss.
A Bucket & Sunshine
Another popular method is to let your pots sit in a bucketful of water in the sunshine. While this method does take the longest, the reward is a coating of green algae that gives your pottery that “I totes live in rural England, and I have an ancient greenhouse out back where I keep my pots” look.
What you’ll need:
- A five-gallon bucket
- Water
- A sunny spot
The process:
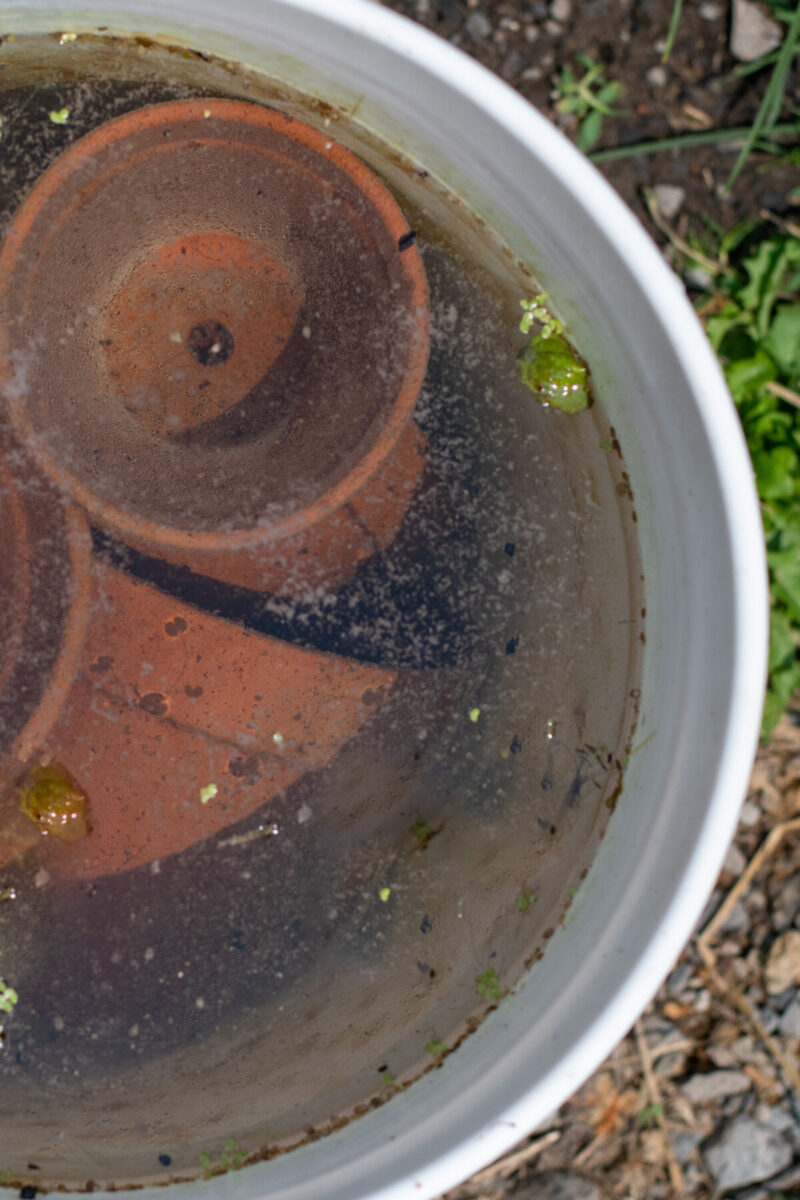
Add your pots to a five-gallon bucket and fill it with water. Place the bucket somewhere that receives direct sun for at least six to eight hours daily. Ignore the bucket entirely for ages letting it get good and manky.
The sun will cause a phenomenon that sends aquarium owners into fits – an algae bloom. The longer you let the pots sit in the water in the sun, the more algae you’ll get. Just ask anyone who’s ever made the mistake of setting up an aquarium near a window.
The verdict:
This is another great method. Once you dump your pots in the bucket, it’s very hands-off. You just check on your pots now and then. And for the tiny amount of actual work involved, the payoff is pretty great.
Chuck Your Pot Into a Decorative Pond
This idea was my own, and it was truly a stroke of genius on my part; it came to me in a flash.
I went to check the progress of my buttermilk and moss pot one afternoon. I had tucked it behind the stone wall next to our tiny decorative pond by the back door because it was a shady and damp spot. From what I could see, all I was growing so far was mold, so I picked up the pot to inspect the other side. In doing so, I dislodged a garter snake.
I scared him. He scared me. The pot went flying.
It landed in our dinky and woefully neglected decorative pond, where it quickly sank below a rather impressive growth of duckweed and settled into a thick, mushy layer of last fall’s leaves. I stared at it for a few moments as the billowing muck slowly settled around it, and the duckweed began to reclaim the surface of the water again, wondering if I wanted to stick my hand in there and fish it out.
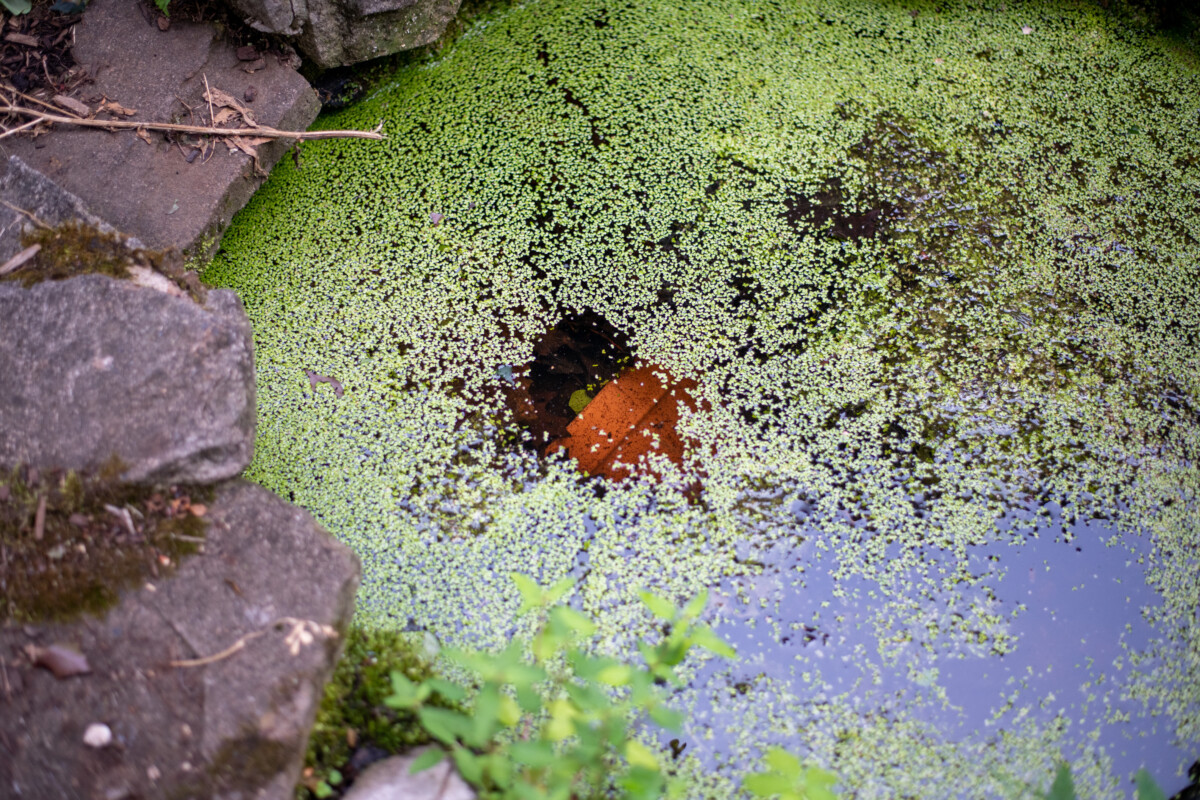
“Nope.”
And there it stayed until it was time to write up this article.
What you’ll need:
- A water feature, pond, creek, river or any other body of water you have private access to.
- A garter snake.
- Just kidding.
The process:
Place your terracotta in the water. (No shouts of “Snake!” or flailing arms necessary.) Be patient and let nature do its thing.
Most any water feature will do. (Hmm, should this bereason number 14?) If you’re lucky enough to have access to a larger body of water or a moving stream, you may want to run a length of rope through the drainage holes of the pots and anchor the pots to a rock or something on shore. This will make it easier to fish them out later.
The verdict:
I liked the way this turned out. However, it only works if your pot gets sunshine while it’s in the water. There were also some leftover mossy bits stuck on mine for obvious reasons.
The Biggest Problem With Several of These Methods
Let’s say your yogurt-covered pot turns out perfect, or you painstakingly tend your buttermilk and moss mixture and manage to get moss to grow. You’re still faced with a problem in the end.
One of the most important steps in using terracotta pots is soaking them before you plant anything.
Because of terracotta clay’s porous nature, you need to soak the pot for several hours (days is better) before adding soil and a plant to them.
If you skip this step, the moment you put damp soil in the pot, it will wick all that moisture out of the soil and into the clay, ensuring your pot gets more water than your plant. And it will keep doing this each time you water your plants. Terracotta pots require more frequent watering because of their porous nature.
Now you take your perfectly “aged” pot and soak it in preparation for planting…and all your hard work is undone by the “universal solvent” – water.
(All the mold and buttermilk dissolved from my pond pot within a day or two.)
This is another reason why chucking your pot in a bucket is probably the best way to go. Not only will you get a great patina, but your pot will be thoroughly saturated and ready to use when you remove it.
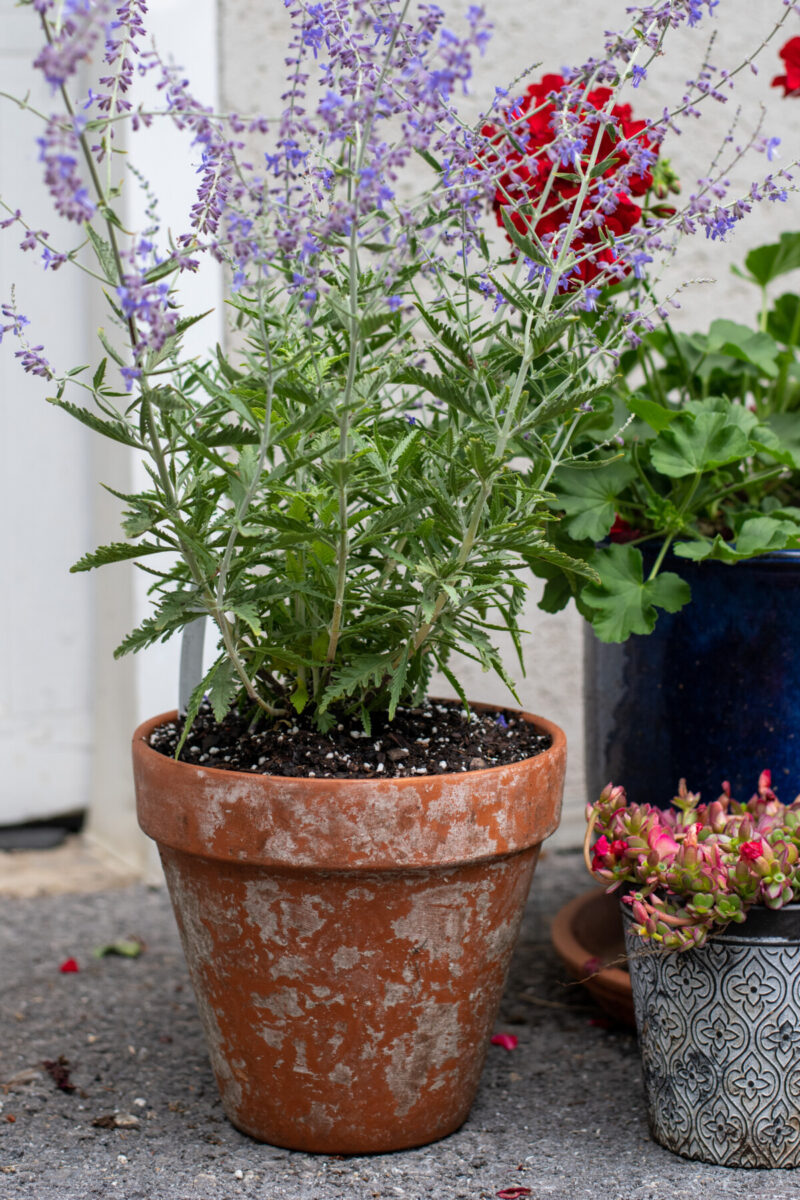
Ultimately, the best way to get that rustic patina is simply to use your pots. Using them outdoors is even better. And using them to grow a plant outdoors thatenjoys a little shadeis the best, as you’ll be well on your way to a perfectly aged pot.
